
UNIFY OpenScape Business X5
- Jul 27, 2017
- 4 min read
OPEN BOX Configuration:
LAN Default IP Address: 192.168.1.2
Default Username: administrator@system
Default Password: administrator
Admin Port Default IP Address: 192.168.2.1
Default Username: administrator@system
Default Password: administrator
*While Login to Openscape business assistance GUI with default login it requires to change the password for administrator@system user.
After login with administrator@system login first need to create an Expert user account to manage and configure the system with expert mode options.
Steps to configure basic installation of the Openscape business system:
Setup > Basic Installation > Initial Installation

Provide the IP Address for Openscape business depends on requirement.
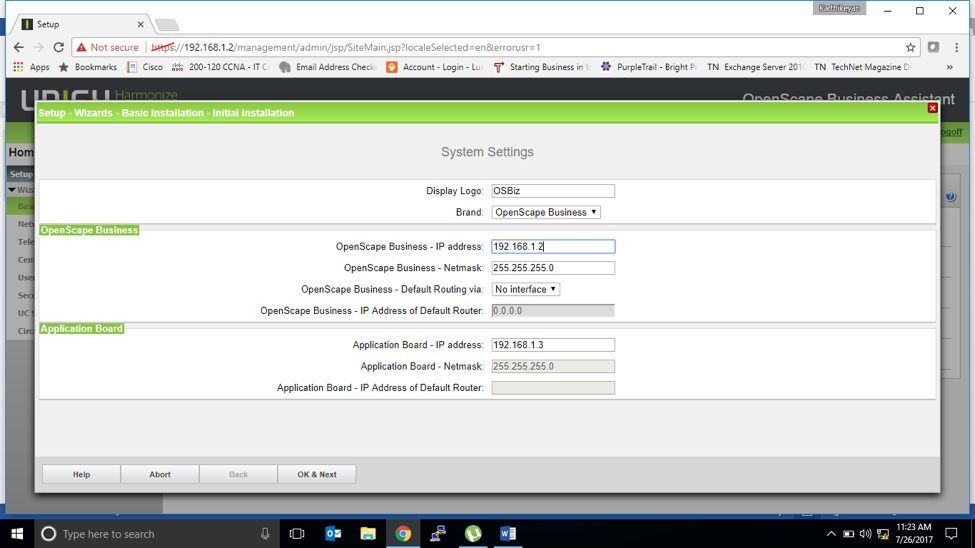
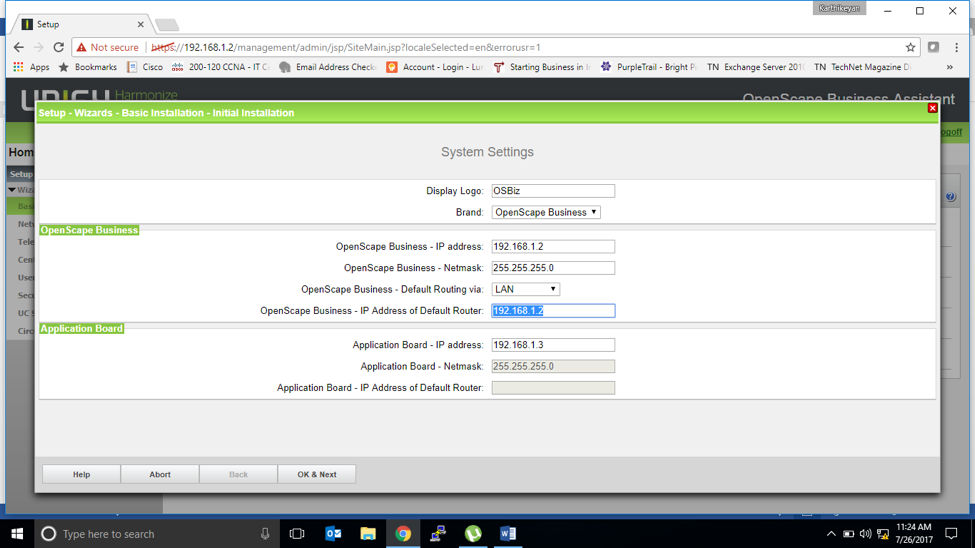
Select the routing Interface for default route and provide the Default Router IP as below.
In build DHCP Server options

DHCP pool section

Select country code on drop down if not listed name then select International

Select Language and set date and time with zone. (Important for Licensing, application and logs)

On application selection Select Package depends if purchased booster server or UC smart card or UC Suite.
By default for 50 UC smart with Openscape business system select “Package with UC Smart”.

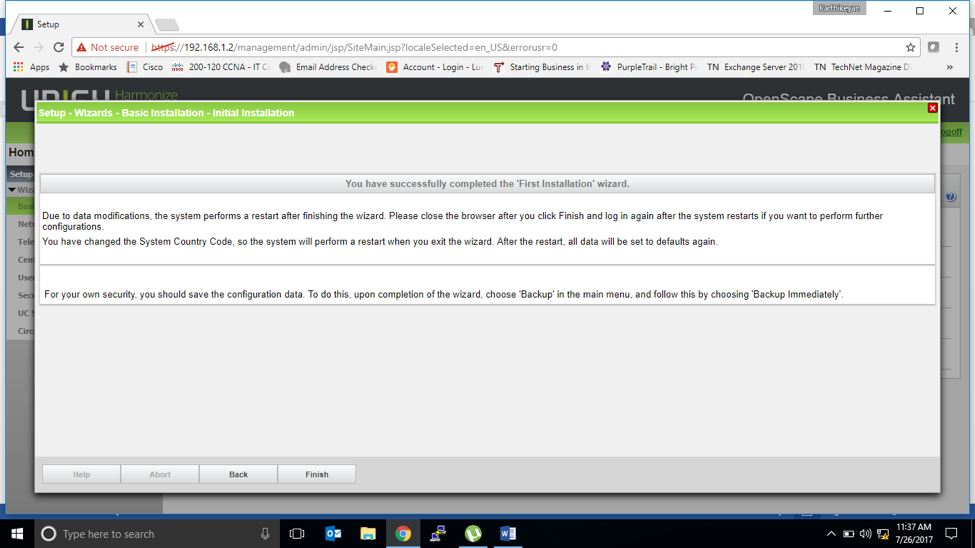
Basic installation setup completed.
Setup > Basic Installation > Basic Installation

Provide the country code and international prefix depends on customer.

Example for UAE country code 971 and international prefix 00 then click Ok & Next

Select the Function for station/subscribers. To display the existing station configuration select below and click Execute function.

Default station output predefined by system.

If you want to delete system default stations and create with custom station select below function and click execute function.

Once all default station deleted the system will show as below to set the preconfiguration station for the use of system function.

They station numbers are for the system function use so it won’t be available for station or group dialing.
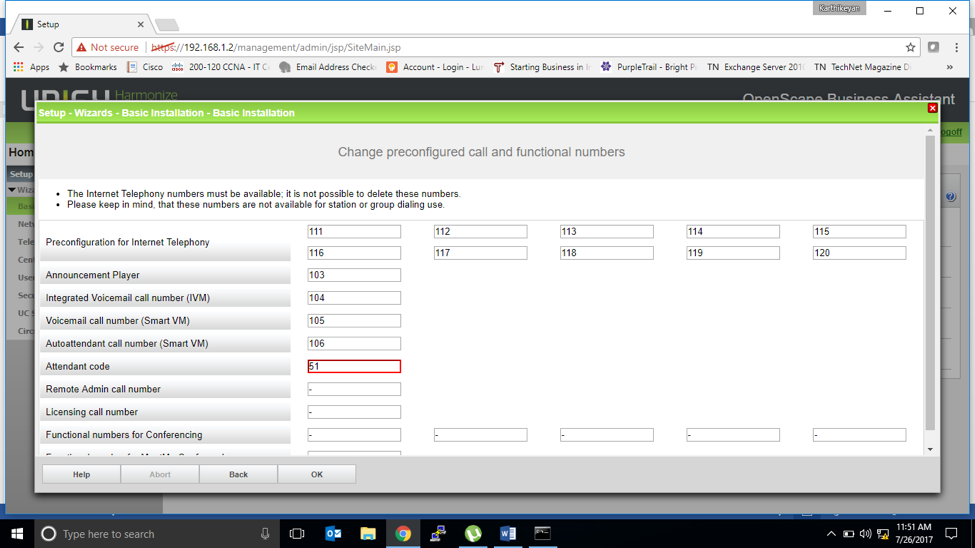
Once preconfiguration values provided the system will show as below to select the function if needed.

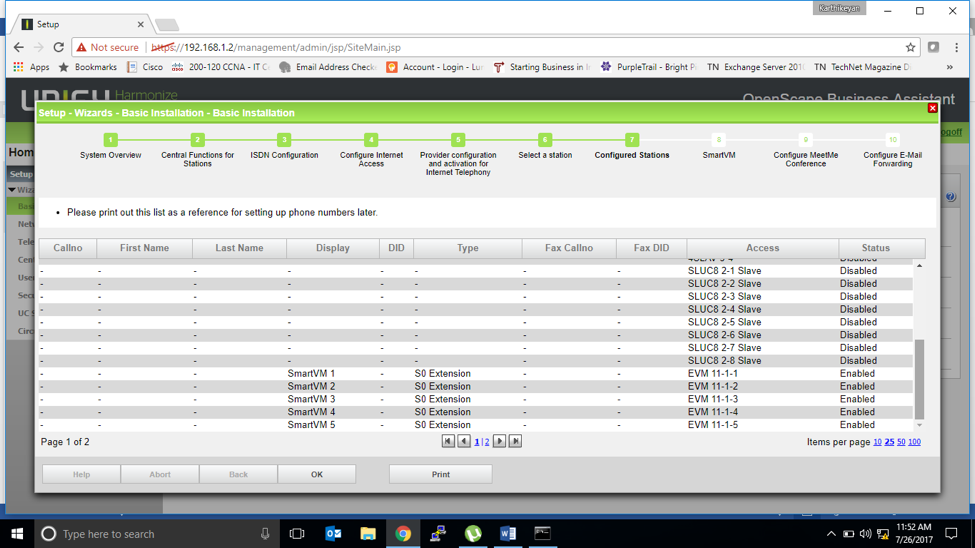
Output of display station configuration.
BRI Line configuration.

Trunk Protocol selection.

CO side trunk configuration depends on the physical card interface. As below 4 port analog trunk card.

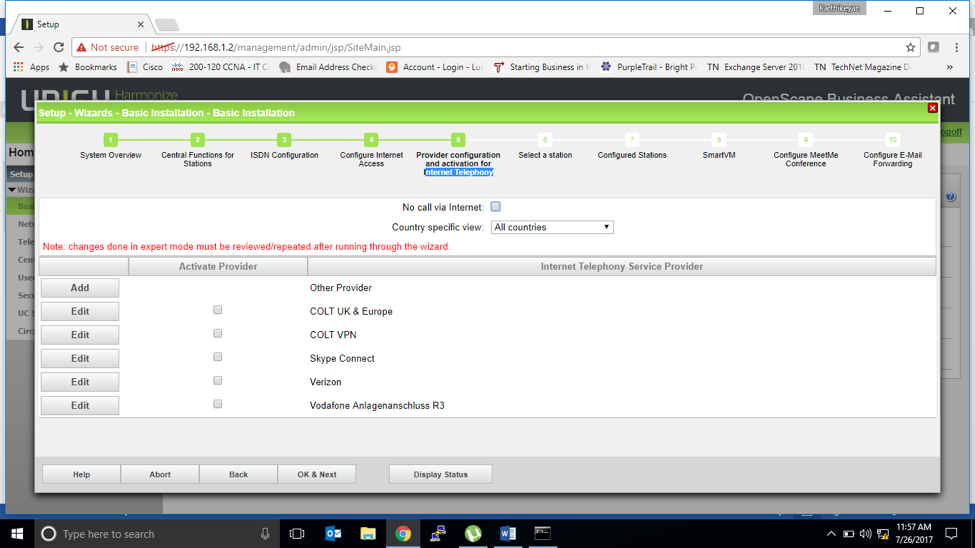
Internet access configuration.

Call via internet SIP settings configuration.

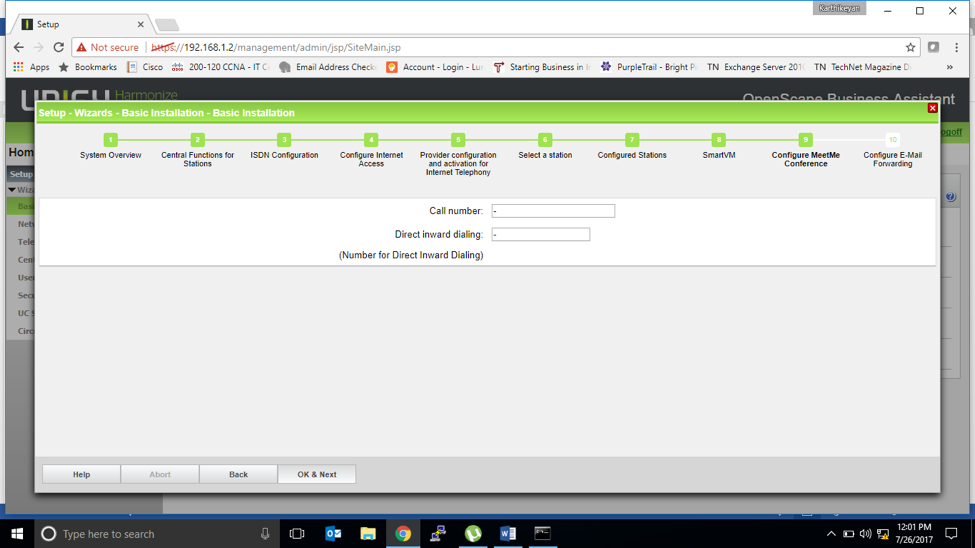
SIP or ITSP Line Configuration.

New Station creation if needed. Analog or A/B

Digital or UPOE

IP Phones or LAN Phones

Output of configured station of any station created.

SmartVM configuration. (Voice Mail or Auto Attendent)


Email SMTP settings.

Basic configuration finished.

Client side requirement agenda to do further configuration.
Agenda:
Configure PRI/Analog Trunk Line
Create 3 Extensions/ Stations
Class of service
Internal
National
Mobile
International
Call hunting/Group
Sales
Marketing
Technical
Auto Attendant
Voice Mail
FAX Line
CO Side Trunk line Configuration.
Expert mode > Trunks/Routing
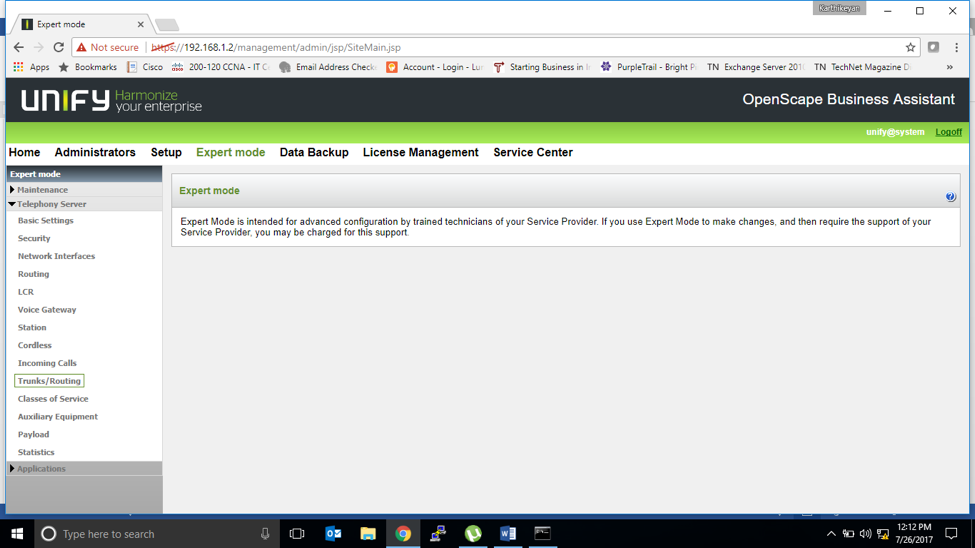
Select Trunks

CO Side Physical interface card. For below we have 8 port Card with 4 port Analog trunk card.

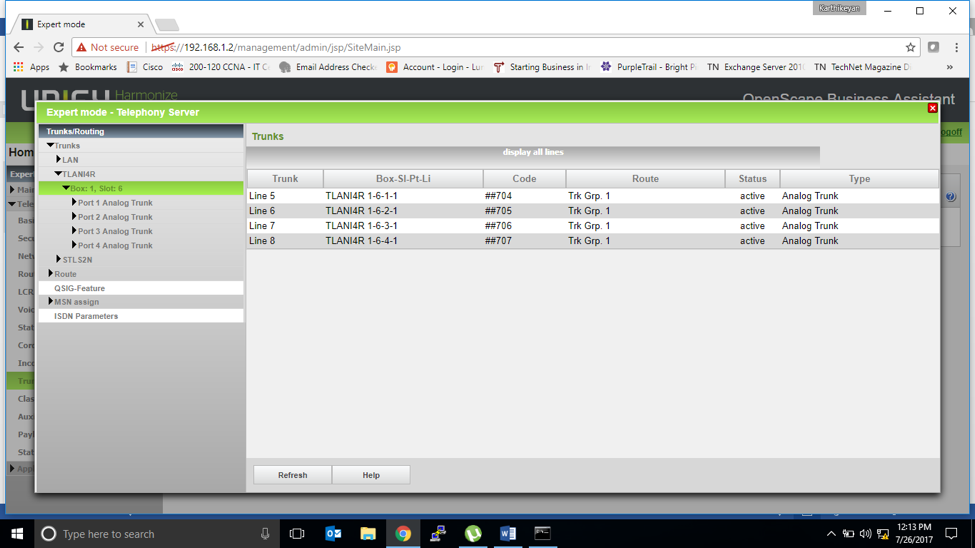
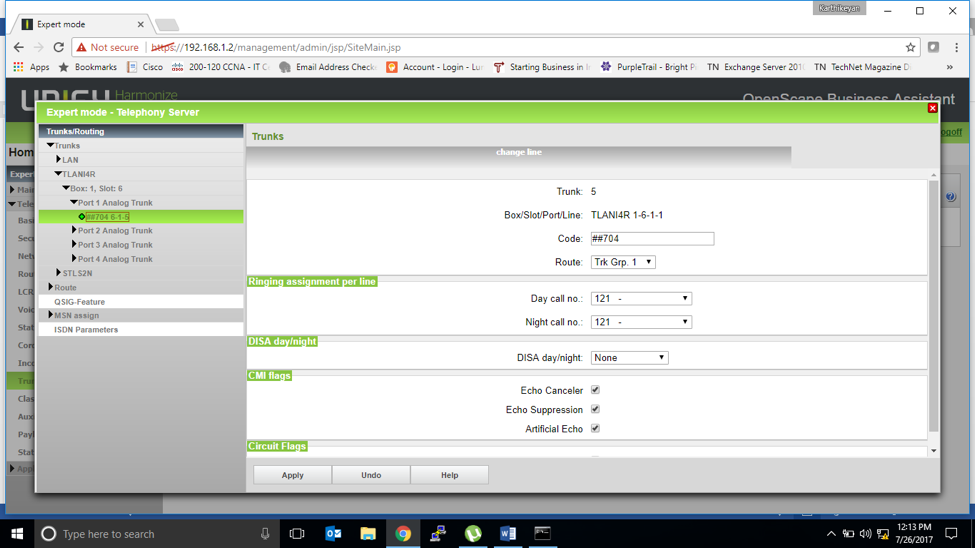
Select the trunk interface each port and do the configuration depends on the requirement.
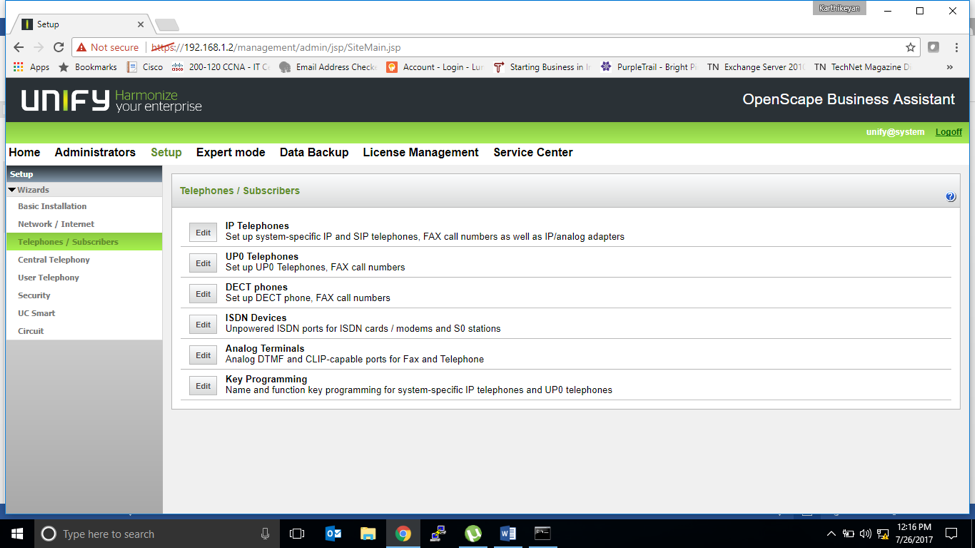
Create 3 Extensions/Stations:
Setupà Telephones / Subscribers > Select the type of station which we need to create.
Eg: Select IP Telephones
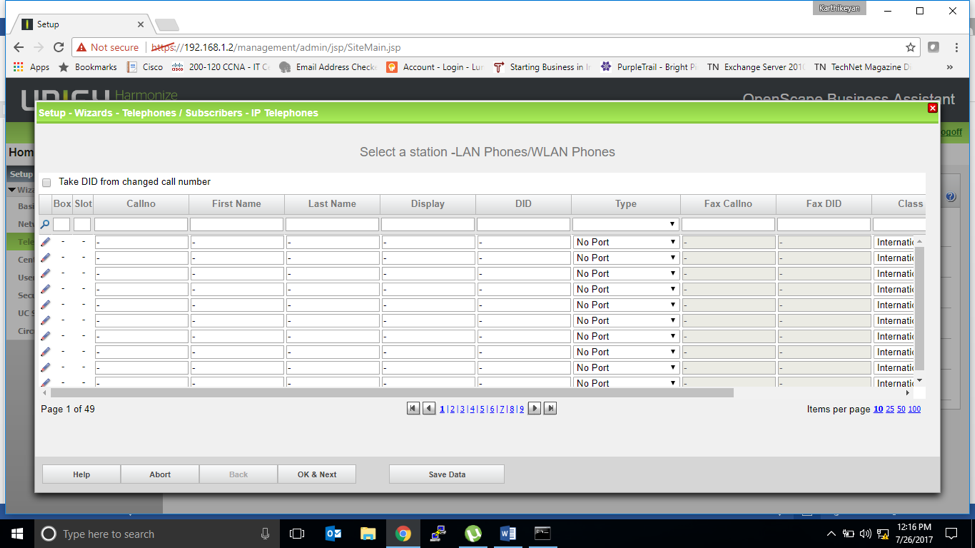
Provide the extension number, name and type.


Now we have created 3 stations as shows below.

Extension Details Edit


Configured stations.
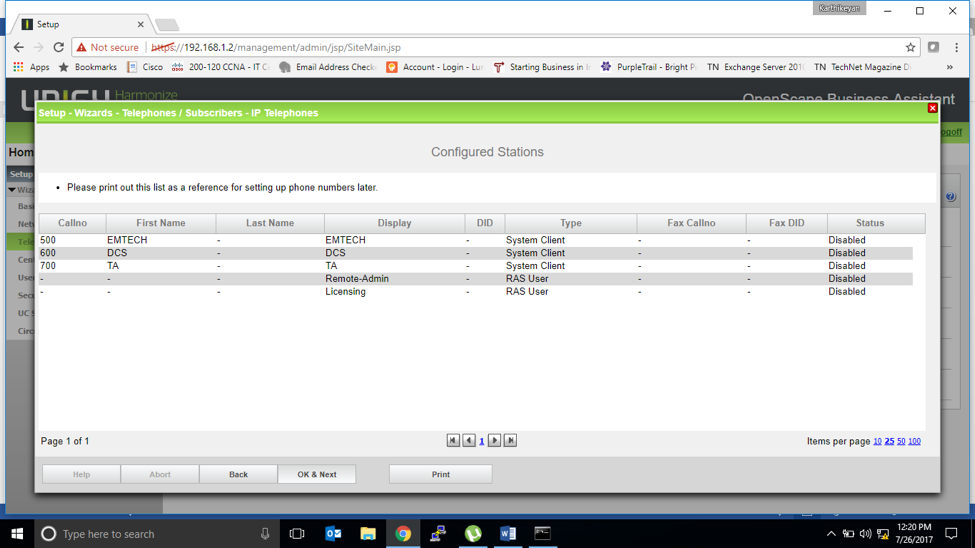
Select finish to complete the station creation wizard.

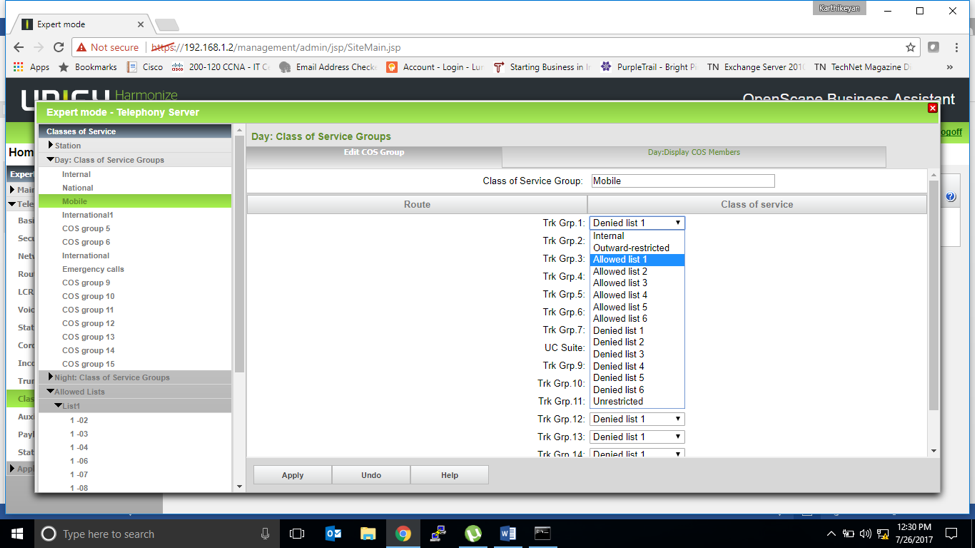
Class of service (COS)
Expert mode > Class of service

Select Day: Class of service Groups to view the default 15 COS Groups.

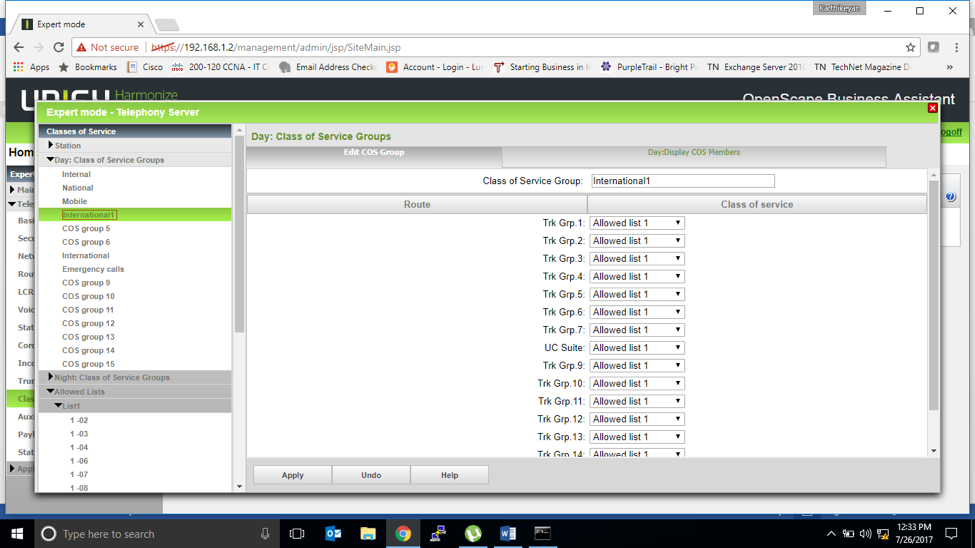
We can change the class of service group names as per our requirement now we will change 4 Groups as per client requirement.

Once Group Names changed will select each group and check.


Edit the Allowed List to add the numbers in the list.
Allowed list total 6.
1 to 6. On that 1 has 100 Entries and 2 to 6 has each 10 entries.


Same for Denied list also if need to create denied list then edit the denied list to add the numbers in the list.
Denied list total 6.
1 to 6. On that 1 has 100 Entries and 2 to 6 has each 10 entries.
Unrestricted COS has no restriction on calls means.

Once COS created to apply on specific station.
Setupà Telephones / Subscribersà IP Telephones

Each station has tab to specify the Class of service.

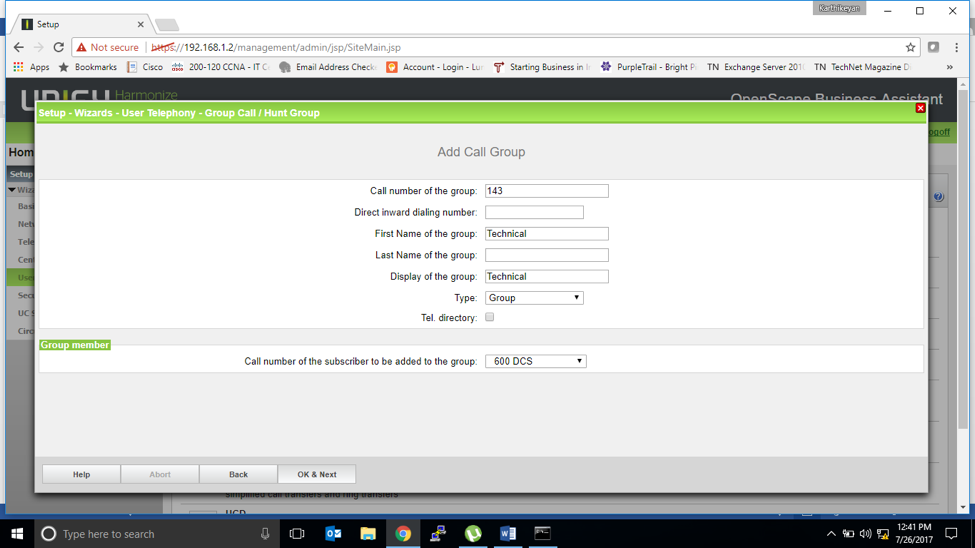
Hunt Group creation.
Setupà User Telephonyà Group call/ Hunt Group

Create a Group with “Add” option.

Provide the name of the Group and add a member to that group. Initially it will allow to add one member but later we can edit the same group and add more members.


To add more number on same group.

Auto Attendant:
Setupà Central TelephonyàSmartVM

Change Auto attendant number if need.

On Openscape Business Default 10 ports for SmartVM on that 8 for voice mail and 2 for Auto attendant. If we need more ports for auto attendant then we can change depends on our requirement.
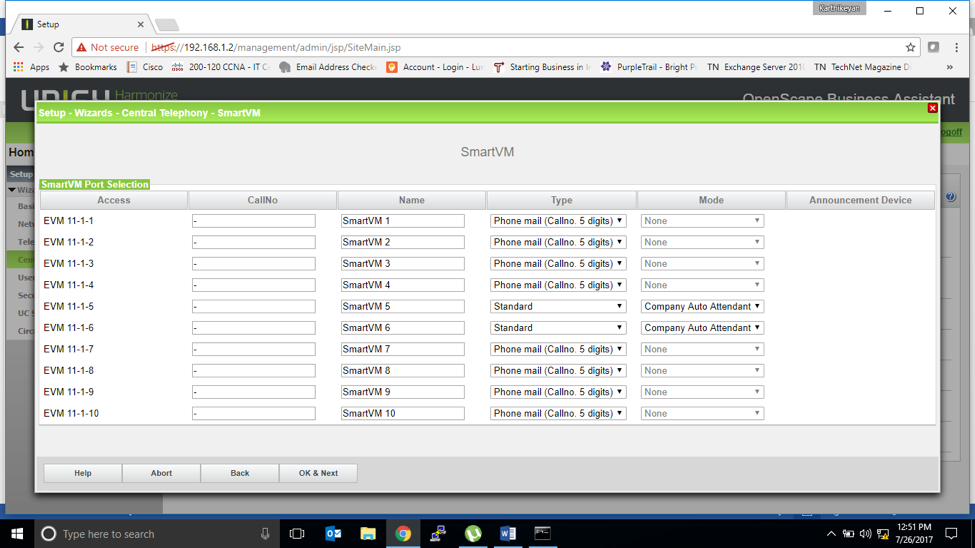
We have allocated 3 ports for Auto attendant.

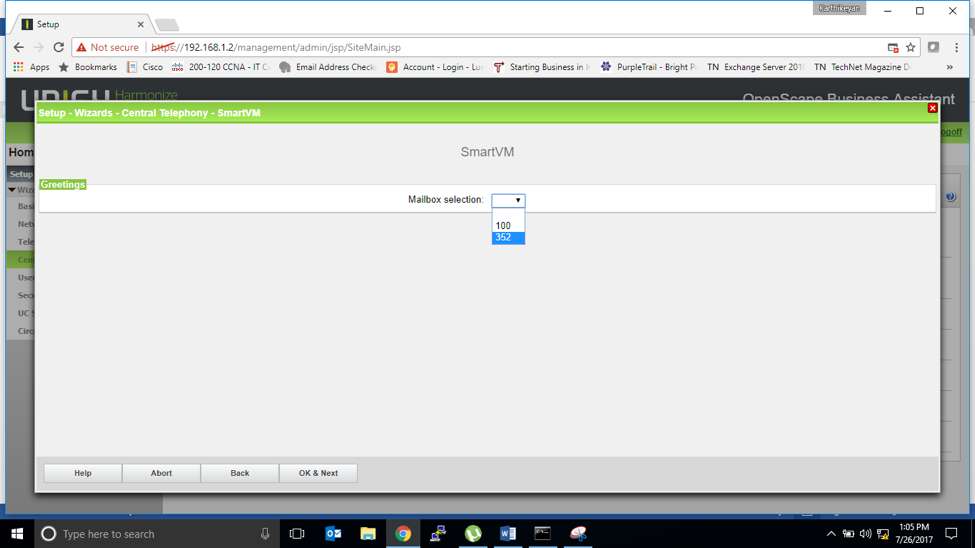
Select the mailbox to specify Greetings to play.

Before that we have to assign the license for the extension/station which we are going to use for auto attendant.
License managementà IP User

Now we can see the Mailbox and select the same which we need.
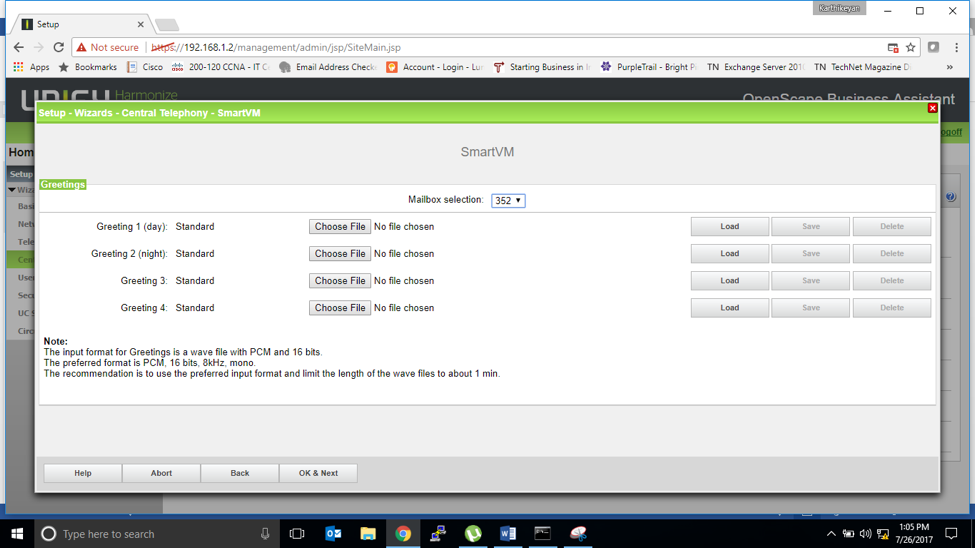
Once mailbox selected we need to upload the voice as per below format.
Settings for Auto attendant behavior.

SmartVM auto attendant has been done.

Dialing plan for Auto Attandant.
Expert modeàAuxiliary equipment

Select SmartVM and Auto attendant

Select mailbox.

Dial Plan for Auto Attendant
End customer call pilot number and its move to Auto attendant number (106) then inside auto attendant mailbox 352 will play greetings with speed dialing details.
Select the action for speed dialing number and for the system call the number and route to hunt group or ext.

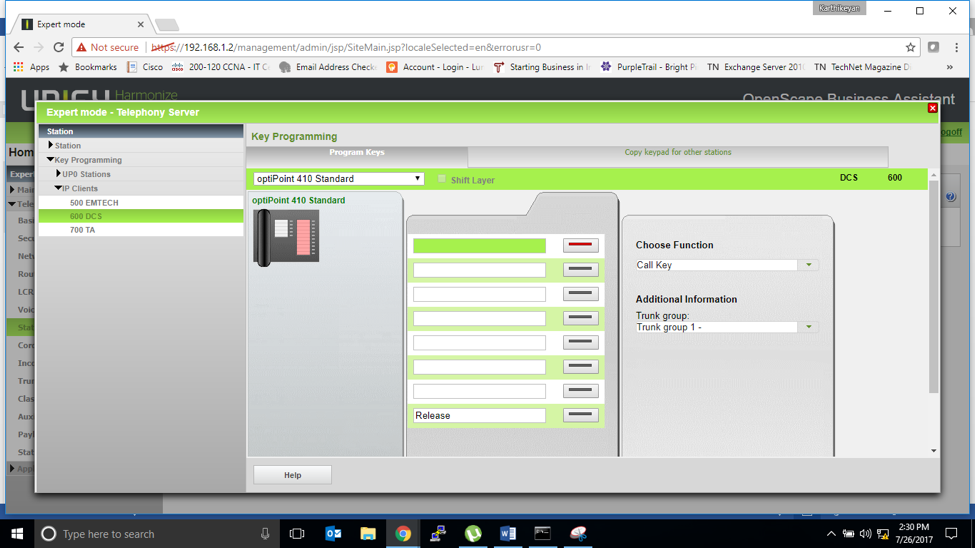
Key Programming for Stations (Expansion module)


Click the Phone Image to assign function for module
FAX Line


Comments